Tech Innovations
Discover breakthrough tech innovations, emerging technologies, smart solutions, and future-driven ideas shaping the digital world.
Major AI Breakthroughs Set to Transform the World by 2030
Artificial Intelligence is no longer science fiction—it’s already reshaping industries and redefining our daily lives. As we approach 2030, several groundbreaking AI advancements are poised to accelerate global transformation. From emotion-aware systems and general intelligence to quantum-AI fusion and sentient robotics, these technologies are unlocking new capabilities that once seemed impossible.
This article explores the most important AI breakthroughs happening now and what they mean for the future. We dive into how these innovations are impacting sectors like healthcare, finance, education, and national security, while also considering their long-term implications.
Whether you’re a tech enthusiast, investor, or business leader, understanding these developments is key to staying ahead.
Are Smart Locks Secure? Here’s What You Need to Know Before Installing One

Smart locks are revolutionizing home security, offering keyless entry, remote control, and integration with smart home systems. But how safe are they compared to traditional locks?
While smart locks offer convenience, they also introduce new cybersecurity risks. Vulnerabilities such as weak passwords, outdated firmware, and insecure Wi-Fi networks can expose your lock to hacking. However, many modern smart locks use advanced encryption, biometric authentication, and two-factor verification to enhance protection.
To ensure your smart lock is secure, choose a reputable brand, regularly update the firmware, and use strong, unique credentials. It’s also wise to combine your smart lock with other smart home security measures like cameras or alarms.
In summary, smart locks can be just as secure—or more secure—than traditional locks if properly configured and maintained. Always research your options and follow best practices for digital safety to protect your home.mart locks are revolutionizing home security, offering keyless entry, remote control, and integration with smart home systems. But how safe are they compared to traditional locks?
While smart locks offer convenience, they also introduce new cybersecurity risks. Vulnerabilities such as weak passwords, outdated firmware, and insecure Wi-Fi networks can expose your lock to hacking. However, many modern smart locks use advanced encryption, biometric authentication, and two-factor verification to enhance protection.
To ensure your smart lock is secure, choose a reputable brand, regularly update the firmware, and use strong, unique credentials. It’s also wise to combine your smart lock with other smart home security measures like cameras or alarms. are smart locks truly safe?
What Are Smart Locks?
Smart locks are electronic locks that use wireless protocols like Wi-Fi, Bluetooth, or Z-Wave to communicate with smartphones, keypads, or smart home hubs. This lets users lock and unlock their doors remotely, share virtual keys, and track activity through a mobile app.
The Benefits
- Convenience: No need for physical keys. Grant or revoke access anytime.
- Remote Access: Lock or unlock your door from anywhere via your phone.
- Activity Logs: See who enters and when ideal for monitoring deliveries or guests.
- Integration: Many smart locks work with Alexa, Google Assistant, Apple HomeKit, and other smart home systems.
The Security Concerns
Despite the advantages, some risks are associated with smart lock technology:
- Hacking Risks: If your home Wi-Fi or the lock’s firmware is compromised, hackers may gain access.
- Software Vulnerabilities: Bugs or outdated software could expose flaws in security.
- Weak Passwords: Just like with any connected device, a weak password can open the door to attackers.
How to Stay Protected
To make the most of your smart lock without sacrificing security:
- Choose a trusted brand with a strong track record in cybersecurity.
- Update firmware regularly to patch security vulnerabilities.
- Use strong, unique passwords and enable two-factor authentication.
- Pair with a smart doorbell or camera for added visibility.
Smart locks can be highly secure when set up correctly and used responsibly. Like any connected device, they require thoughtful configuration and regular maintenance. For tech-savvy homeowners looking for flexibility and control, smart locks are a secure and modern solution when properly protected.
Apple’s Liquid Glass Technology: What to Expect by 2030
Step into the future with our immersive 3D animation that imagines Apple’s revolutionary Liquid Glass interface as it might appear in 2030. Inspired by real-world innovations from iOS 26, macOS Tahoe, and other future-facing Apple platforms, this visionary concept redefines what digital interaction could look like in the next decade.
Crafted with cutting-edge 3D animation, motion graphics, iconography, typography, and immersive sound design, the experience was brought to life by the creative minds at Scene a hybrid studio known for merging film production, VFX, branding, and story-driven design into one seamless visual journey.
What is Liquid Glass?
A futuristic interface concept, Liquid Glass envisions adaptive, fluid UI layers that respond to touch, light, and user behavior blurring the lines between hardware and digital experience.
Scene’s work is rooted in adaptability, innovation, and creative evolution. Through dynamic branding and behind-the-scenes storytelling, we explore how visual language can adapt across past, present, and future platforms.
Watch More & Stay Updated:
👉 Explore our Liquid Glass concept and future design experiments at: https://techysolutions.de/liquid-glass-redefined-whats-new-in-ios-26-beta-2/
👉 Visit our brand site: https://techysolutions.de/category/tech-innovations/
New Technology Trends That Will Define the Future
Are you ready to explore what the future holds?
In this video, we unveil the top 20 emerging technology trends that are shaping the world of tomorrow. These cutting-edge innovations are no longer just theoretical concepts they are already transforming industries, redefining how we live, and paving the way for a smarter, more connected future.
From revolutionary breakthroughs in artificial intelligence and quantum computing to the rapid rise of sustainable technology and next-gen robotics, these trends represent the driving forces that will define the coming decades. Whether it’s the expansion of 5G networks, the evolution of Web3, or the latest developments in renewable energy, this list captures the most impactful shifts in the tech landscape.
Discover how these advancements are revolutionizing key sectors such as healthcare, education, and transportation while also reshaping everyday routines and the way we interact with the world around us. We’ll also discuss the challenges each technology faces and how innovators are overcoming them to build a more inclusive and innovative global ecosystem.
Stay tuned until the end to explore the most exciting and disruptive technologies on the horizon. These aren’t glimpses of science fiction they’re unfolding right now, with the potential to fundamentally transform the way we live, work, and connect.
Google Pixel 10 Series Pricing Leaks Pixel Buds 2a Also Getting a Price Hike
A fresh wave of leaks has given us an early look at the Google Pixel 10 series pricing and fans may want to brace for higher price tags. Alongside the new phones, Google is also reportedly increasing the price of the upcoming Pixel Buds 2a, making them less budget-friendly than before.
If you’ve been tracking Google’s 2025 hardware lineup, this update might shift your expectations.

Pixel 10 Series Pricing: What’s Changing?
Based on credible industry leaks, the Pixel 10 and Pixel 10 Pro will come with increased launch prices compared to the Pixel 9 series. Here’s a breakdown:
Pixel 10 is rumored to start at $749 Pixel 10 Pro could hit or exceed $999
This shift signals Google’s deeper push into the premium flagship space, directly competing with the likes of Samsung’s Galaxy S25 and Apple’s iPhone 16.
Related: Google Pixel 9 vs Pixel 10: What to Expect
Related: Tensor G5 Chip: Everything We Know So Far
Pixel Buds 2a: Budget No Longer?
The original Pixel Buds A-Series were praised for offering solid features at an affordable price point. But with the Pixel Buds 2a, Google may be rethinking that strategy.
Leaks suggest the new earbuds could launch at $99 or higher, compared to the previous $79 MSRP. While we may see improvements in sound quality, battery life, or AI features, it raises the question: are these still a budget buy?
Related: Pixel Buds A-Series Review: Best Budget Earbuds?
Related: Best Pixel Accessories to Buy in 2025
Why the Price Hike?
Several factors may be driving these increases:
Improved hardware and materials Integration of AI features, likely powered by Google Gemini Rising supply chain and component costs Strategic repositioning to match flagship competitors
Pixel 10 Series Launch Date
Following tradition, the Pixel 10 series and Pixel Buds 2a are expected to launch in October 2025 during the Made by Google event. This annual showcase typically features Google’s newest devices, software, and AI capabilities.
Related: Made by Google 2025: What to Expect
Related: Google Pixel Launch History Timeline
Should You Wait to Buy?
If you’re planning to upgrade your phone or earbuds, this news might impact your decision. While the Pixel 10 and Buds 2a will likely deliver enhanced performance and smart features, the value proposition will be more important than ever.
If pricing becomes a concern, previous-gen models like the Pixel 9 and Pixel Buds A-Series may become more attractive with post-launch discounts.
Related: Best Pixel Deals Right Now
Related: Pixel 9 Pro Long-Term Review
With rising prices across Google’s hardware lineup, it’s clear the company is betting on premium AI-powered experiences to justify the cost. Whether you’re excited or skeptical, one thing is certain — the Pixel 10 series is going to be one of the most closely watched launches of the year.
Stay tuned for our full coverage when the devices are officially revealed.
Grok AI Integration in Tesla Cars Set for Next Week, Says Musk
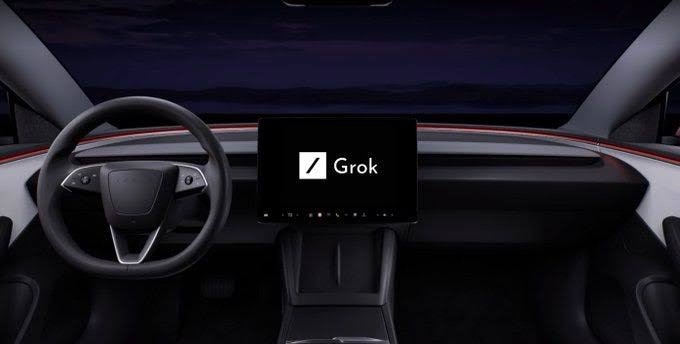
Elon Musk has announced that Grok AI, the artificial intelligence chatbot developed by xAI, will begin rolling out to Tesla vehicles next week. The integration will be available in cars equipped with FSD (Full Self-Driving) computer hardware, bringing advanced conversational AI directly to the dashboard.
Grok AI is designed to offer real-time assistance, answer complex questions, and provide entertaining or informative conversations—all from within the car. This move marks a major step in merging AI technology with the automotive experience, enhancing how drivers interact with their vehicles.
This rollout could redefine in-car infotainment, with Tesla leading the way in combining AI chatbots and autonomous vehicle technology.
Apple Breaks Ground by Approving First iOS Game With Integrated Cryptocurrency Payments
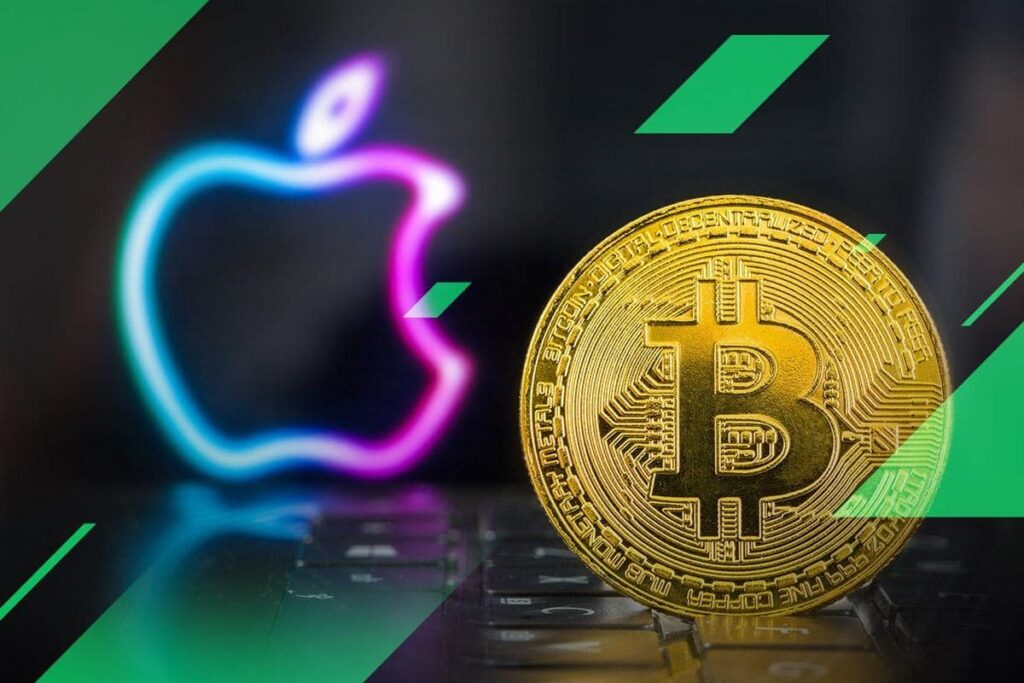
Apple has officially approved the first-ever iOS game to feature native Bitcoin and cryptocurrency payment integration, marking a pivotal moment for mobile gaming and blockchain adoption. The game enables users to make in-app purchases and receive rewards using digital currencies like Bitcoin, Ethereum, and other supported crypto assets.
This decision reflects a significant policy shift from Apple, which has historically enforced strict rules against crypto transactions within the App Store ecosystem. By allowing in-app crypto functionality, Apple is signaling growing openness to blockchain technology and Web3 gaming experiences.
The approval could set a precedent for more crypto-enabled apps and games on iOS, further blending the worlds of mobile entertainment, digital finance, and decentralized technologies.
Japan Shatters Internet Speed Record with 1.02 Petabits per Second -: The Entire Netflix Library in a Second

In a groundbreaking achievement, Japan has set a new world internet speed record, reaching an incredible 1.02 petabits per second. That’s over 1 million gigabits per second, making it the fastest internet speed ever recorded.
To put that into perspective, this speed is fast enough to download the entire Netflix library in just one second. The record was achieved using cutting-edge fiber-optic technology over a distance of more than 50 kilometers, proving that ultra-fast internet is not just possible in labs — it’s scalable in real-world conditions.
This technological leap forward has major implications for the future of 5G and 6G networks, cloud computing, AI, and data-intensive industries. While consumers won’t see these speeds at home anytime soon, it marks a major step toward next-generation internet infrastructure.
With the growing demand for faster data transmission, especially in video streaming, gaming, and virtual reality, this achievement positions Japan at the forefront of global internet innovation.