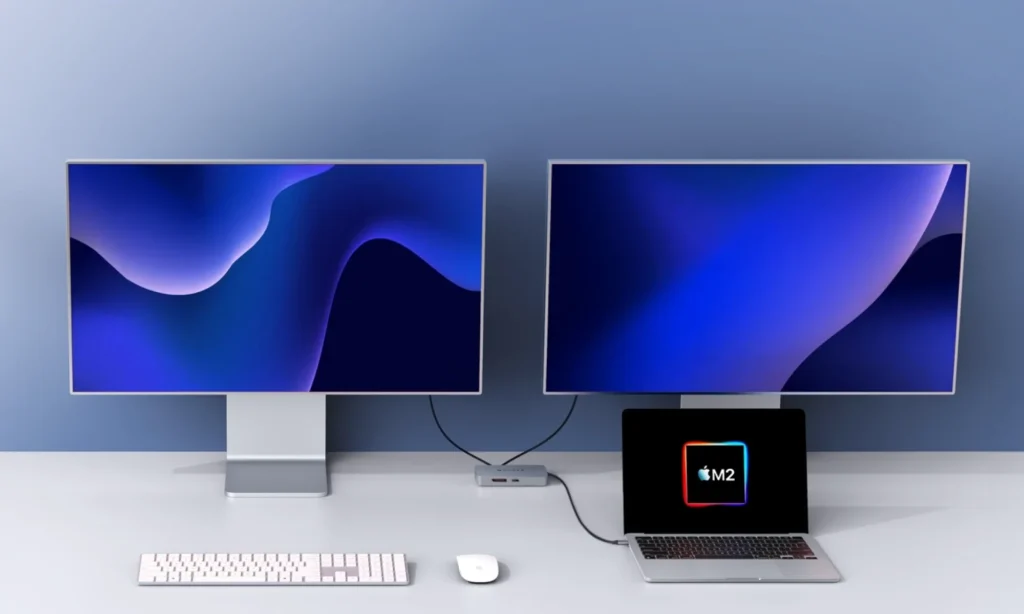
How to Set Up Dual Monitors on Windows and Mac

Learn how to set up dual monitors on your Windows PC or Mac. Boost your productivity with this easy step-by-step guide for multiple screen setup.

Adding a second monitor can transform your workspace. Whether you’re working from home, gaming, or multitasking, a dual-monitor setup enhances productivity and creates a more organized desktop experience.

In this guide, we’ll show you how to set up dual monitors on both Windows 10/11 and macOS, covering connection types, display settings, and troubleshooting tips.

Benefits of a Dual Monitor Setup

  • Increase productivity with more screen real estate
  • Simplify multitasking (email, docs, video calls)
  • Better workflow for designers, editors, and coders
  • Improved gaming and streaming experience

What You’ll Need

  • A compatible computer with at least 2 video outputs (HDMI, DisplayPort, USB-C, VGA)
  • Two monitors with matching cables
  • Necessary adapters (if connecting HDMI to USB-C, for example)

How to Set Up Dual Monitors on Windows 10/11

Step 1: Connect the Second Monitor

  • Plug the second monitor into an available port (HDMI, DisplayPort, VGA, USB-C).
  • Make sure both monitors are powered on.

Step 2: Access Display Settings

  • Right-click on the desktop → Display Settings
  • You’ll see both monitors labeled as 1 and 2

Step 3: Choose Display Mode

Under Multiple displays:

  • Duplicate – shows the same content on both screens
  • Extend – expands the desktop across both screens (most popular)
  • Second screen only – turns off the primary screen

Tip: Drag the monitor boxes to match their physical arrangement.

Step 4: Adjust Resolution and Orientation

  • Scroll down to adjust each screen’s resolution
  • Set primary monitor by clicking “Make this my main display”

How to Set Up Dual Monitors on Mac (macOS Ventura or Monterey)

Step 1: Connect the Second Display

  • Use Thunderbolt, USB-C, HDMI, or a compatible adapter
  • macOS will auto-detect the monitor once connected

Step 2: Open Display Settings

  • Go to Apple Menu > System Settings > Displays

Step 3: Arrange Displays

  • Drag monitors in the preview to match their real-world layout
  • Move the white menu bar to the preferred primary display

Step 4: Adjust Resolution and Display Mode

  • Choose Default for display or Scaled
  • Enable Mirror Displays if you want identical output on both screens

For older Macs, use System Preferences > Displays

Supported Display Modes (Windows & Mac)

Display ModeDescriptionBest For
ExtendSpans your desktop across both monitorsProductivity & Multitasking
Duplicate/MirrorShows same screen on both monitorsPresentations
Second ScreenUses only one monitorGaming or focus mode

Common Issues and Fixes

Problem 1: Second Monitor Not Detected

  • Check cable connections and power
  • Click “Detect” in Display Settings (Windows)
  • Restart your computer

Problem 2: Wrong Resolution

  • Update graphics drivers (NVIDIA, AMD, Intel)
  • Use display settings to manually adjust resolution

Problem 3: Monitor Flickering or Lag

  • Try a different cable or port
  • Set both monitors to same refresh rate if possible

Recommended Accessories

  • HDMI Splitters & USB-C Hubs
  • Monitor Arms or Dual Monitor Mounts
  • Docking Stations for laptops (especially MacBooks)

Related posts

Setting up dual monitors is easier than ever, and the benefits are immediate especially for professionals, gamers, and remote workers. Whether you’re on Windows or macOS, this step-by-step guide will help you configure your setup the right way.

❓FAQs

Q1: Can I use a TV as a second monitor?
Yes! As long as it has HDMI input and your computer has HDMI output.

Q2: Can I mix monitor resolutions (e.g., 1080p + 4K)?
Yes, but it may affect display clarity and cursor movement.

Q3: What if my laptop has only one port?
Use a USB-C to HDMI hub or docking station to expand connectivity.

5 helpful tips for using your iPhone and Mac together 

If you’re part of the Apple ecosystem, one of the biggest advantages is how well your devices work together. Whether you’re switching from your iPhone to your Mac or using both simultaneously, Apple’s Continuity features make the experience seamless. Here are five helpful tips to help you get the most out of your iPhone and Mac together:

1. Use Handoff to Switch Devices Instantly

Handoff lets you start an activity on one device and pick it up on another. For example:

  • Start writing an email on your iPhone, then finish it on your Mac.
  • Begin browsing a website on Safari on your Mac, then continue on your iPhone.

How to enable:
On both devices, go to Settings (iPhone) or System Settings (Mac) > General > AirPlay & Handoff, then turn on Handoff.

2. Universal Clipboard: Copy and Paste Across Devices

Copy text, images, or files on your iPhone, and paste them directly on your Mac or vice versa. It works automatically as long as both devices are signed in to the same Apple ID and Wi-Fi network.

Example: Copy an address on your iPhone and paste it into Maps on your Mac in seconds.

3. Make and Receive Phone Calls on Your Mac

Did you know you can take iPhone calls right on your Mac?

How to enable:
Go to Settings > Phone > Calls on Other Devices on your iPhone and allow your Mac to receive calls.
On your Mac, open FaceTime > Settings > Calls from iPhone.

Now, your Mac will ring when someone calls your iPhone and you can answer it directly from your computer.

4. Use AirDrop to Instantly Share Files

AirDrop is the fastest way to transfer files between your iPhone and Mac photos, PDFs, documents, and more with just a few taps.

How to use:

  • On your iPhone, select the file > tap Share > choose AirDrop > select your Mac.
  • On your Mac, you’ll get a notification to accept the file.

It’s fast, wireless, and works without internet.

5. Use Your iPhone as a Webcam (Continuity Camera)

With macOS Ventura and iOS 16 or later, you can use your iPhone’s powerful rear camera as a webcam for video calls on your Mac.

How to use:

  • Place your iPhone near your Mac.
  • Open an app like Zoom or FaceTime.
  • Your Mac will automatically detect and use your iPhone as the camera.

You’ll enjoy sharper video and features like Center Stage, Portrait Mode, and Studio Light.

Apple’s ecosystem is all about simplicity and continuity. These features can save you time, improve productivity, and make your digital life smoother. Whether you’re working, sharing content, or taking a video call, using your iPhone and Mac together unlocks powerful synergies that make multitasking effortless.

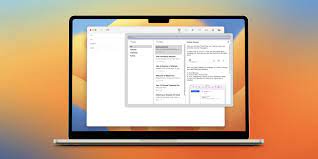
How to use Mail on your Mac 

How to Use Mail on Your Mac: A Step-by-Step Beginner’s Guide

Apple’s built-in Mail app for macOS is a powerful, easy-to-use email client that integrates seamlessly with iCloud, Gmail, Outlook, Yahoo, and other services. Whether you’re setting up email for the first time or want to make the most of its features, this step-by-step guide will walk you through using Mail on your Mac.

Step 1: Open the Mail App

  • Click on the Mail icon in the Dock or go to Launchpad > Mail.
  • You can also open it via Applications > Mail.

Step 2: Add an Email Account

If you’re opening Mail for the first time:

  1. A setup window will appear.
  2. Choose your email provider (iCloud, Google, Yahoo, Outlook, or “Other Mail Account…”).
  3. Enter your email address and password.
  4. Follow the prompts to grant Mail access to your email.

If Mail is already set up and you want to add another account:

  1. Go to Mail > Add Account from the top menu bar.
  2. Select your provider and sign in with your credentials.

Step 3: Check Your Inbox

  • Once your account is set up, Mail will begin downloading messages.
  • You’ll see a sidebar with folders such as Inbox, Sent, Drafts, Trash, etc.
  • Click Inbox to view your latest messages.

Step 4: Compose a New Email

  1. Click the New Message button (✉️) in the toolbar or use the shortcut Command (⌘) + N.
  2. Fill in the recipient’s email in the “To” field.
  3. Add a subject, write your message in the body, and click Send.

Step 5: Attach Files

  • While composing a message, click the paperclip icon or drag and drop files directly into the email window to attach them.

Step 6: Organize Your Mail

  • Use folders (mailboxes) to sort emails: Go to Mailbox > New Mailbox.
  • Use the Search bar at the top to quickly find messages.
  • Use flags, filters, and rules to manage emails more efficiently (via Mail > Settings > Rules).

Step 7: Customize Mail Settings

  1. Go to Mail > Settings (or Preferences).
  2. Under Accounts, manage your email accounts.
  3. Under General, adjust how Mail behaves—e.g., how often it checks for new mail, how messages are displayed, etc.
  4. Under Signatures, you can create a custom email signature.

Step 8: Delete or Archive Emails

  • Click the Trash icon to delete.
  • Or click Archive (if enabled) to save messages for later without cluttering your inbox.

Step 9: Sync with Other Apple Devices

  • If you’re using iCloud, your Mail app syncs across your iPhone, iPad, and Mac automatically.
  • Make sure iCloud Mail is enabled in System Settings > Apple ID > iCloud > Mail.

Bonus Tips:

  • Use Smart Mailboxes to automatically group emails by rules (like from certain contacts or with attachments).
  • Schedule emails using Send Later (available in newer macOS versions).
  • Use Mail Drop to send large files (up to 5GB) via iCloud without clogging up inboxes.

The Mail app on Mac offers a clean, streamlined email experience with deep Apple ecosystem integration. Whether for personal or professional use, it’s packed with tools to help you stay productive and organized. With these steps, you’ll be up and running and emailing like a pro in no time.

MENU
techysolutions.de