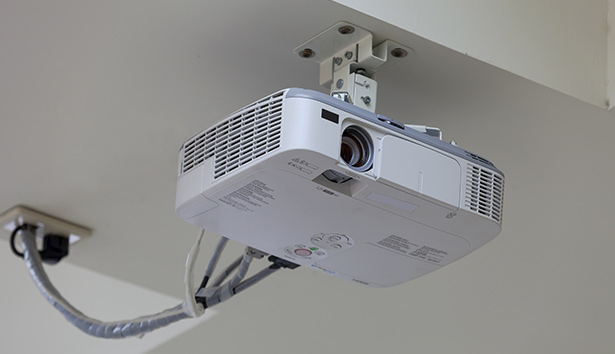
Here’s a clear, step-by-step guide to fixing common projector installation issues, whether it’s a home theater setup, office presentation system, or classroom projector.
1. No Image Displayed
Causes:
- Loose or wrong cable connection.
- Wrong input source selected.
- Projector lens cover still on.
Fixes:
- Check cables – Ensure HDMI/VGA/USB-C cables are firmly connected.
- Select the right input source – Use the projector’s remote or buttons to switch between HDMI 1, HDMI 2, VGA, etc.
- Remove the lens cap (yes, it happens more often than you think!).
- Test with another device/cable to rule out a faulty connection.
2. Blurry or Distorted Image
Causes:
- Out-of-focus lens.
- Wrong projection distance.
- Dirty lens.
Fixes:
- Adjust focus using the projector’s focus ring or control.
- Move projector closer/farther until the image fits and sharpens.
- Clean lens with a microfiber cloth (avoid liquid cleaners directly on lens).
- Check keystone correction – Adjust vertically/horizontally so the image is rectangular.
3. Image Cut Off or Not Fitting the Screen
Causes:
- Wrong aspect ratio/resolution.
- Zoom or overscan issues.
Fixes:
- Match display settings on your computer/device to the projector’s native resolution.
- Adjust zoom on the projector.
- Disable overscan in projector settings.
4. Projector Overheating / Shutting Down
Causes:
- Blocked air vents.
- Dirty filters.
- Poor ventilation.
Fixes:
- Ensure there’s at least 2 feet of clearance around the projector vents.
- Clean or replace filters regularly.
- Keep the projector in a cool, dust-free environment.
5. Remote Control Not Working
Causes:
- Dead batteries.
- Blocked IR sensor.
Fixes:
- Replace batteries with fresh ones.
- Make sure there’s a clear line of sight between remote and projector.
- Test with projector’s physical buttons to confirm the issue is remote-specific.
6. Mounting & Alignment Issues
Causes:
- Incorrect mount installation.
- Uneven ceiling/wall.
Fixes:
- Use a spirit level to align the mount.
- Check the mount’s weight capacity matches your projector.
- Secure all screws firmly before hanging.
- Adjust lens shift or keystone for perfect alignment.
7. No Sound
Causes:
- Audio cable not connected (if using VGA).
- Audio output disabled on source device.
- Projector speakers too low or muted.
Fixes:
- For HDMI – Ensure your device is sending audio through HDMI (check sound settings).
- For VGA – Connect a separate audio cable.
- Turn up projector volume and unmute.
💡 Pro Tips for Smooth Installation:
- Read your projector’s user manual for recommended throw distance and screen size.
- If mounting on the ceiling, pre-measure and mark before drilling.
- Use high-quality cables for longer runs to avoid signal loss.
- Always update the projector’s firmware for best performance.
Related Posts: Projector installer’s cheat sheet
How to install a projector first time
A one-page PDF version with diagrams This is visually clear for installers in the field.

